- Mon, 16 Mar 2020
- Maya Construction 1 Inc.
Easy Step-by-Step Process for How to Repair Stucco!
If you have stucco on your exterior walls, then you enjoy the many benefits that it brings. But, your walls can get damaged over time. If you’re existing stucco has some cracks or holes, then you should fix it as soon as possible. Learn how to repair stucco by following this easy step-by-step process!
Even though this material can last for several years, there comes a time when you need to repair it. Your stucco can get damaged because of water seeping beneath the surface, mold, or lack of gutters.
So, if you need major stucco repair, you should keep reading this blog! You can also follow this process for small holes in your stucco. By following these steps, you won’t have to hire a stucco contractor!
Ever Wonder How to Repair Stucco? We’ll Tell You How!
If you’re ready to make this home improvement by yourself, then follow each step carefully. One of the first things you must know before you start is the type of stucco finish that you want. This is also so that you prepare the right mix.
Now, after you know the right type of stucco, it’s time to get the right equipment. You must have everything ready before you start. This is because you don’t want to be looking for the materials in the middle of the project.
What do you need to repair stucco?
- Wire brush
- Hammer
- Chisel
- Gloves
- Safety glasses
- Trowel
- Sponge
- Stucco mix
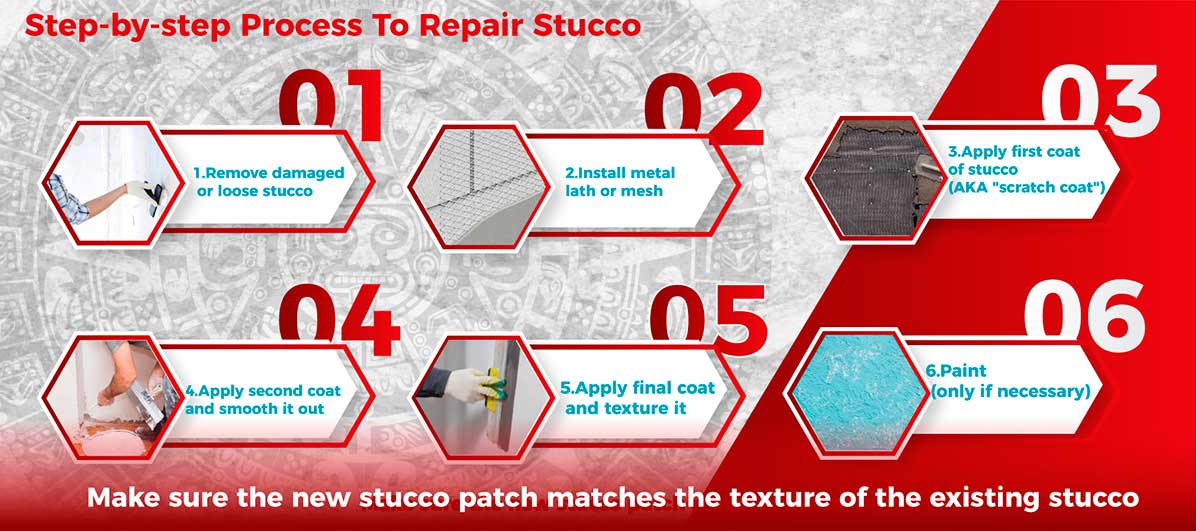
After you have the necessary materials, then it’s time to begin! These are the steps for stucco repair:
- Remove damaged or loose stucco
- Install metal lath or mesh
- Apply the first coat of stucco (AKA “scratch coat”)
- Lay the second coat and smooth it out
- Apply final coat and texture it
- Paint (only if necessary)
Now, let’s look at each one more closely:
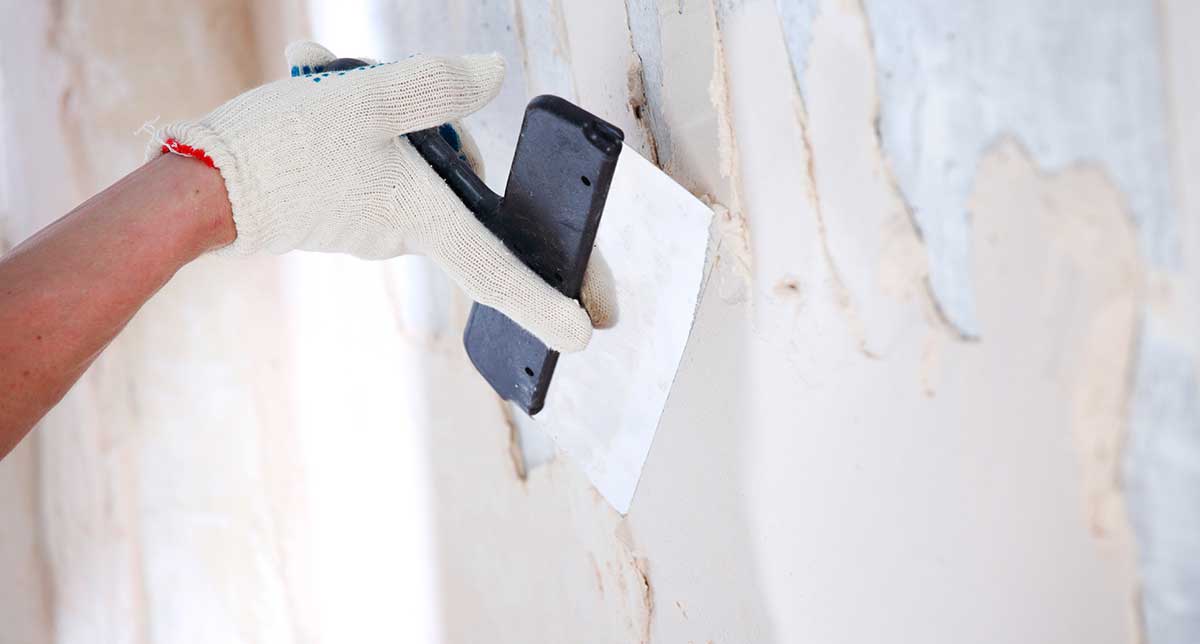
Step 1 in Stucco Repair: Remove Damaged Stucco
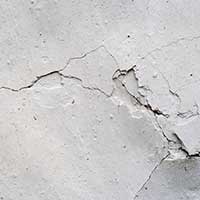 The first step in how to repair stucco is to remove the damaged material. Whether you’re fixing cracks or holes, you must remove crumbling stucco. This is so that the new coats you apply go in smoothly.
For this step, we recommend you use safety glasses and gloves to avoid getting hurt. As you are removing the damaged stucco, debris could get into your eyes. For that reason, we urge you to get protection first.
First, you need to use your hammer and chisel to chip away any loose or damaged stucco. You don’t want any old piece of stucco in the way when applying your new mix. Also, be careful not to damage the wood lath underneath.
After this, it’s time to use your wire brush. This is after you’ve chipped away all the loose or damaged stucco. With the brush, you need to clean off all the flaky edges. In the end, anything that is loose or damaged, it needs to come off.
Step 2: Install Metal Lath
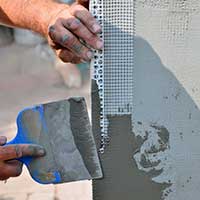 Now, it’s time to install new metal lath or mesh. But, you first need to cover any wood lath underneath with grade D building paper. This will create a moisture barrier.
You will first have to attach one piece of paper to the wood lath. Then, attach another piece of paper over the first one. This is recommended if there are holes in your stucco that you wish to cover.
Next, attach the new mesh with galvanized roofing nails. Make sure that the nails are the right length to pierce through 1 inch into the wood lath. After the metal lath is installed, then it’s time to start applying the stucco mix.
Step 3: Apply First Coat of Stucco
 Let’s begin applying the first coat of stucco! You would mix your stucco mixture in a large bucket or wheelbarrow. It’s crucial always to follow the manufacturer’s instructions!
When you’re mixing the batch, make sure only to make as much as what you would use in a 20 to 45-minute span. This is because if the stucco dries out, it will be harder to adhere to the metal lath.
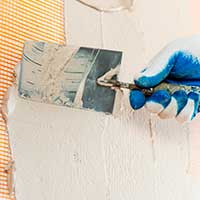
As you start the process, use a trowel to cover the entire mesh with the stucco mix. The first coat you apply is called the “scratch coat.” This is because when the coat is somewhat dry and hard, you use the trowel to scratch the layer with some “x” marks. As a result, the following layer will adhere better.
Step 4: Apply Second Coat
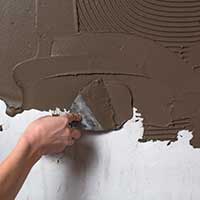 When the first coat is somewhat damp, you can apply the second coat. We recommend you let the first and second coat dry for at least two days. After you apply the coat, it’s vital that you smooth the stucco so that you get the finish you desire.
As you’re applying this coat, follow the same process as you did with the first one. When you’re done, let it cure and cover it with plastic to avoid it from drying out.
Before you move on to the final coat, we recommend misting the area with water. This is to prevent premature drying of the mix.
Step 5: Apply Final Coat of Stucco
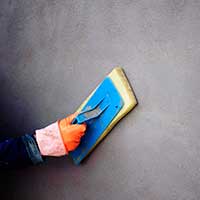 Finally, it’s time to apply the last coat of stucco! When you’re applying this coat, make sure to use a trowel just as with the other layers. Also, make sure that you blend well the stucco patching with the surrounding stucco.
When this layer is drying, it’s your time to give it your desired texture. For this, we recommend using a sponge or cloth. You have to be very careful in this step, otherwise, your walls will have two kinds of texture.
When you finish, you just let the layer dry for two to four days.
Step 6: Paint (Optional Step in Stucco Repair)
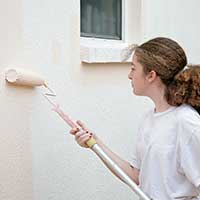 This last step is optional if the new patch is not the same color as the existing stucco. We recommend painting the entire exterior walls to avoid certain areas looking different. You would also choose to repaint your stucco if the existing paint is fading.
Make sure to use high-quality paint so that it lasts for several years.
After all these steps, your stucco will look amazing! The best part is that you did not need any help from a contractor!
So, some things to keep in mind before your stucco project are:
- Decide the stucco texture or finish that you want
- Buy the necessary materials and equipment
- Know how to handle the different tools
- Follow directions carefully
Now, you’re ready to fix your damaged stucco!